
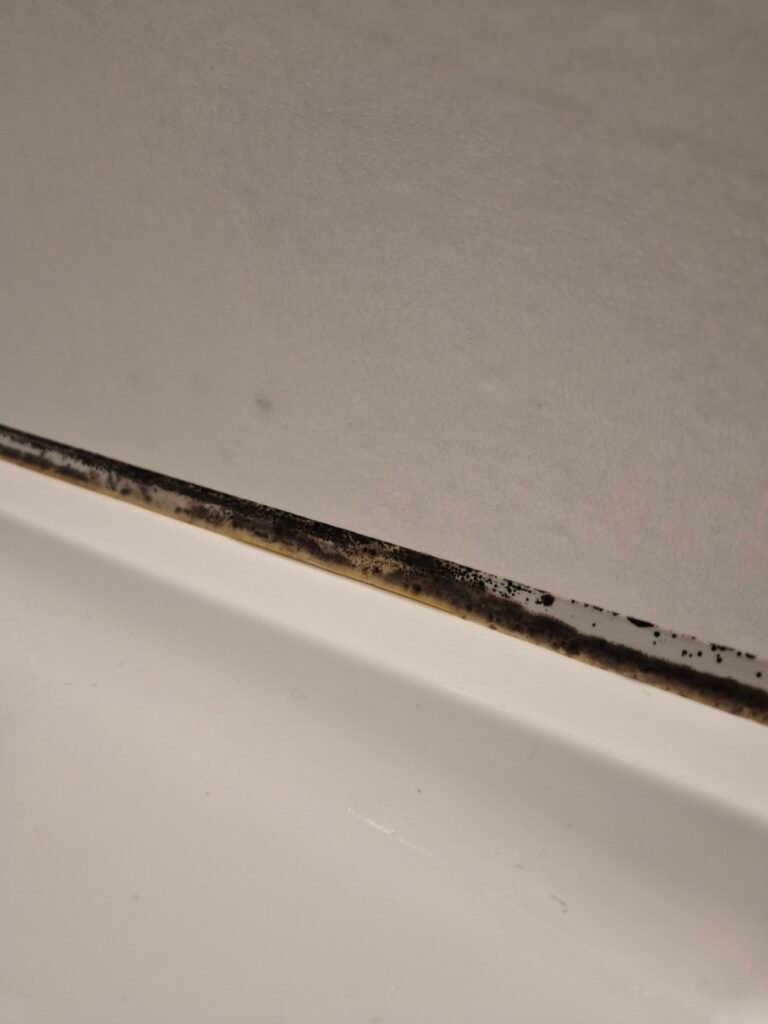
Black specks creeping along the edge of your bath. A shower joint that turns grey no matter how hard you scrub it. If you are wondering how to remove mouldy silicone, the first thing worth knowing is that you are probably not dealing with a cleaning problem at all.
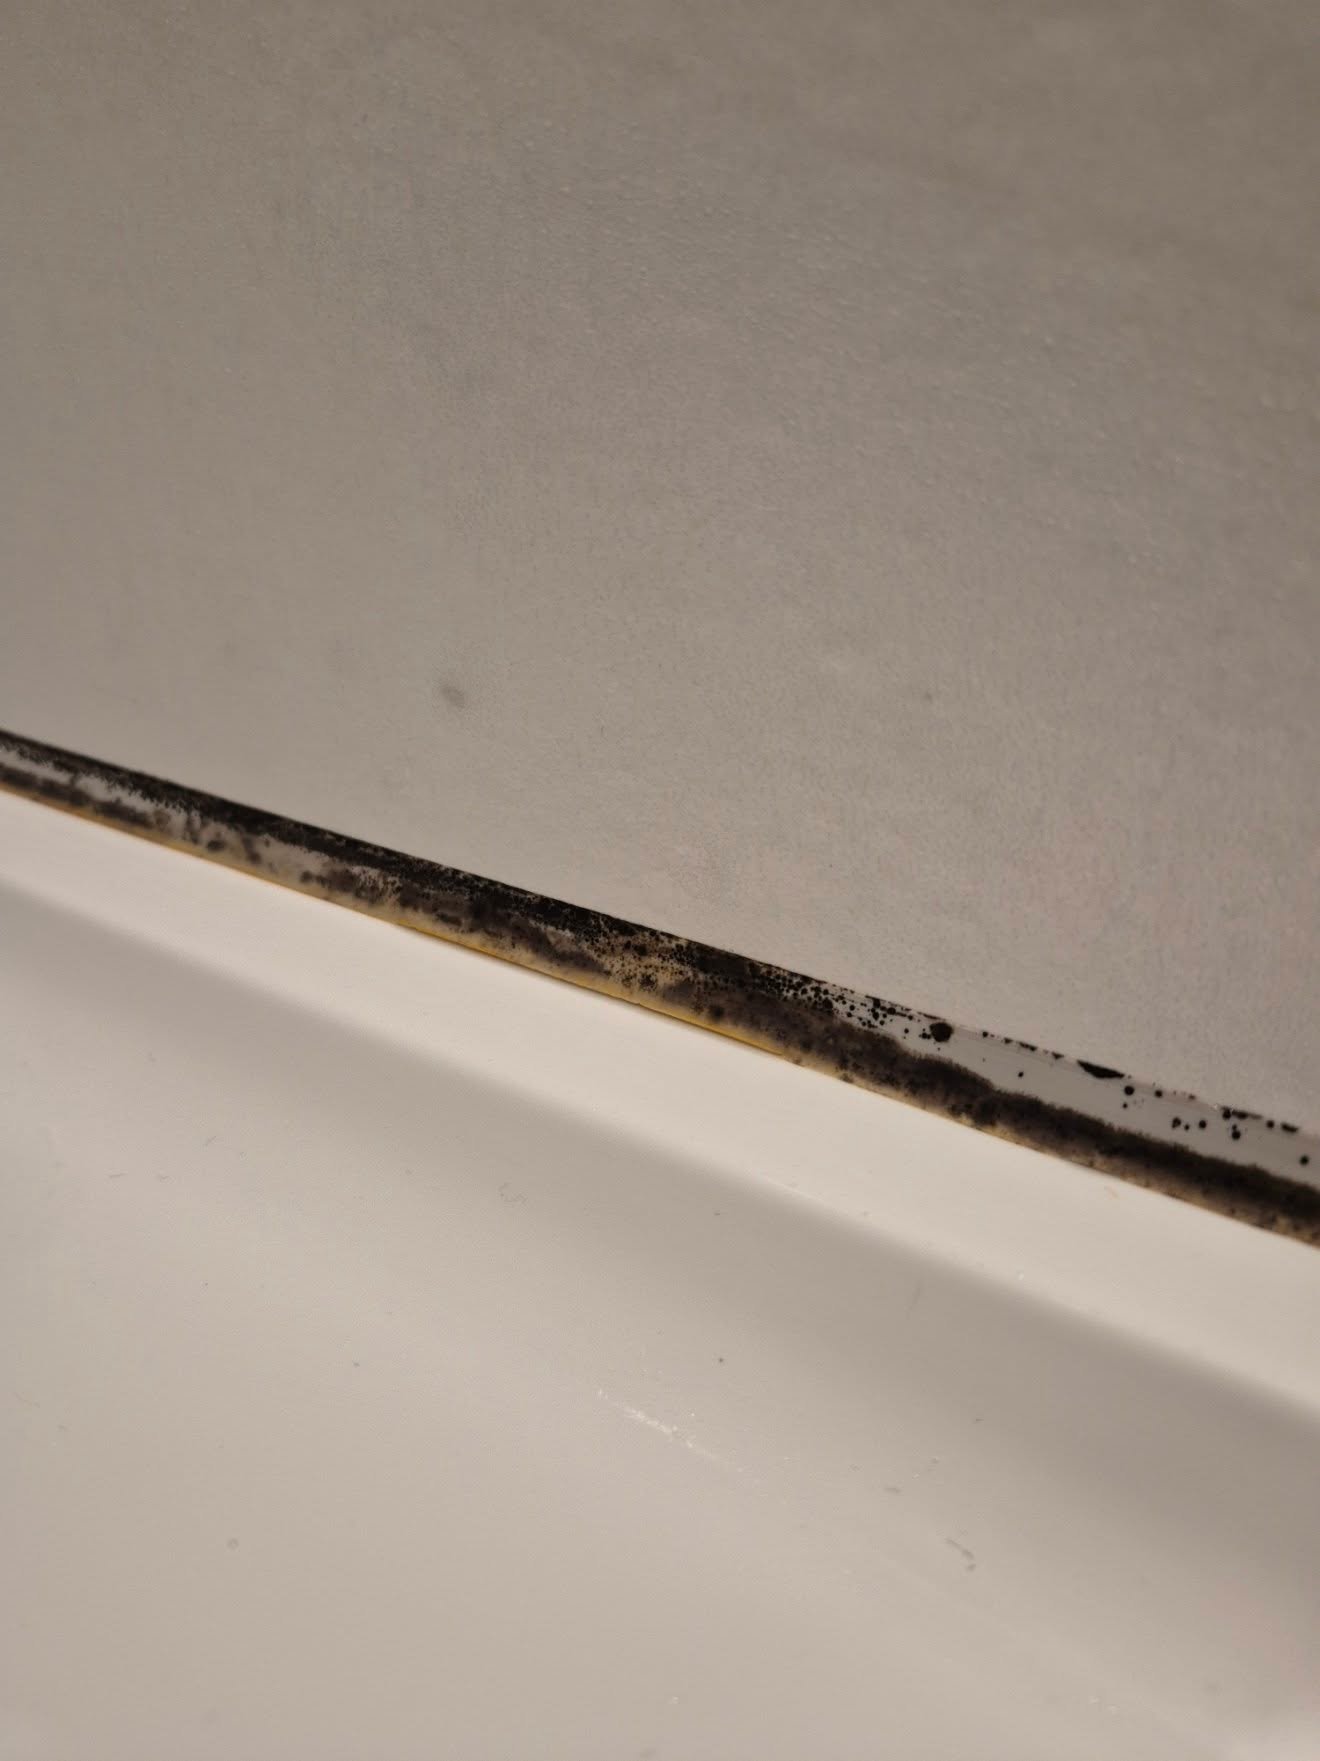
Mould on bathroom sealant behaves differently to mould on a tile or a wall. Silicone is slightly porous and slightly flexible, and once mould has worked its way into the bead rather than sitting on top of it, no amount of spray, bleach or scrubbing will bring it back. The black you can see is growing underneath the surface.
That matters for more than looks. Sealant is the only barrier between the water running down your bathroom walls and the structure behind them. A bead that has gone soft, split or mouldy has usually stopped doing that job — which is a far more expensive problem than a stained-looking bath edge.
The short version
- Surface mould that has only just appeared can sometimes be cleaned off. Anything darker or deeper cannot.
- Once mould is inside the silicone, the only real fix is to cut it out and reseal.
- Painting or smearing fresh silicone over old, mouldy silicone always fails — usually within a few months.
- The preparation, not the sealing, is what decides whether a reseal lasts years or weeks.
- New silicone needs a full 24 hours to cure before the bath or shower is used again.
Why mould grows on bathroom silicone in the first place
Bathrooms are the most hostile environment in the house for a sealant joint. Understanding why the mould appeared tells you whether a reseal will actually hold once it is done.
Constant moisture and poor ventilation
A bathroom that never fully dries between uses gives mould spores exactly what they need. Extractor fans that are underpowered, blocked, or switched off at the wall are one of the most common reasons sealant blackens early in an otherwise well-kept home.
Cleaning products breaking the surface down
This one catches people out. Bleach-based and strongly alkaline cleaners gradually attack the surface of silicone, roughening it and creating microscopic pits for mould to colonise. The products used to keep the bathroom hygienic can be the reason the sealant goes mouldy faster.
Movement in the bath or shower tray
Baths flex when they fill and empty, and trays move slightly as they warm and cool. If the bath is not properly supported, or the original bead was applied too thin, that movement splits the seal. Water gets behind it and mould grows in the gap where you cannot see it.
The wrong silicone, or a bad previous repair
General-purpose or decorator’s silicone does not belong in a bathroom — it needs a sanitary-grade, mould-resistant product. And silicone applied over the top of an existing bead never bonds properly to the surface underneath. It looks fine for a fortnight, then blackens along the join.
Can you just clean it? The honest answer
Sometimes — but the window is narrow, and it is worth testing before you commit to a full job.
Try cleaning if: the marks are light grey or pale brown, they appeared recently, and they sit on the surface. Spray a bathroom mould remover, leave it for the time stated on the bottle, then wipe gently with a microfibre cloth. Be careful. Scrubbing hard enough to distort or tear the bead does far more damage than the mould did — you will open a path for water to get behind it.
Skip straight to replacing it if: the mould is properly black, it returns within days of cleaning, the bead has gone soft or rubbery, it is lifting away at the edges, or there are visible splits. All of these mean the mould is embedded and the seal itself has failed.
A quick test: clean a small section thoroughly and leave it a week. If the black comes back in the same place, it was never on the surface. It is growing inside the silicone, and it will keep coming back until the silicone is gone.
What a proper reseal actually looks like
What you will need
If you are doing this yourself, gather everything before you start. Silicone begins skinning over within minutes, so stopping halfway to find a tool is how jobs go wrong.
- A silicone removal tool or sharp blade — a dedicated sealant knife is safer on acrylic baths than a craft knife
- Sanitary-grade, mould-resistant silicone — check the tube says bathroom or sanitary, and match the colour to your grout or tray
- A decent silicone gun — a cheap one gives you no control over the flow
- A silicone smoothing tool — a finger works but rarely gives a consistent line
- Mould remover spray and a fungicidal wash for treating the joint once the old bead is out
- Microfibre cloths, isopropyl alcohol or methylated spirit for the final degrease
- Gloves and safety glasses — you are working with blades and chemicals in a confined space
How to remove mouldy silicone, step by step
Nearly all of the work is in steps one to five. If you rush the preparation, the new bead will fail regardless of how neatly you apply it.
Dry the area completely
Do not start on a bathroom that has been used in the last few hours. Dry the joint and the surrounding surfaces with a microfibre cloth, and leave it longer if there is any chance water is sitting behind the old bead.
Cut out the old silicone
Run your blade along both edges of the bead, top and bottom, then peel the length away in one piece where you can. Work slowly around corners. Keep the blade angle shallow so you do not score an acrylic bath or chip a tile edge.
Remove every last trace
This is the step people cut short, and it is the one that decides everything. New silicone will not bond to old silicone — even a thin smear left in the corner creates a weak point where water gets in and mould restarts. Scrape until the surface is genuinely clean.
Treat the joint for mould
With the bead gone you will often find mould on the substrate underneath. Apply a fungicidal wash or mould remover, leave it to work, then wipe it away. Sealing over live mould spores simply traps them under the new bead.
Degrease and dry it properly
Wipe the joint with isopropyl alcohol or methylated spirit to lift soap residue, cleaning product film and moisture. Then leave it to dry fully — bone dry, not nearly dry. Any dampness or residue stops the silicone bonding.
Fill the bath before you seal
Worth doing and widely skipped. Filling the bath with water pulls it down to the position it sits in when in use. Seal it empty and the joint stretches every time someone gets in, which is exactly how splits start.
Apply the new bead
Cut the nozzle to roughly the width of the gap, at an angle. Work one continuous length at a time with steady, even pressure, pushing the silicone into the joint rather than laying it on top.
Tool the bead immediately
Smooth each length as soon as you have run it — silicone starts curing within minutes and going back to a skinned bead ruins the finish. One firm, continuous pass with the smoothing tool beats several nervous ones.
Leave it 24 hours
Do not use the bath or shower, and if you filled the bath, leave the water in until the silicone has cured. Most sanitary silicones need a full 24 hours. Using it early is one of the most common reasons a fresh reseal fails almost straight away.
Why DIY reseals fail — and how to avoid it
The steps above are not complicated. What separates a bead that lasts years from one that blackens by spring is usually one of these:
- Old silicone left in the joint. The single most common cause. The new bead bonds to the old residue instead of the surface, and peels away from it.
- Sealing over damp or live mould. The mould keeps growing underneath and reappears through the new bead within weeks.
- Sealing an empty bath. The joint is put under tension every time the bath is used, and splits along its length.
- The wrong product. Non-sanitary silicone has no fungicide in it and blackens quickly in a wet room.
- Too thin a bead. A thin line cannot absorb movement. It tears, and the tear is invisible until water is already behind it.
- Using the shower too soon. Uncured silicone loses adhesion permanently — you do not get that bond back.
None of these show up immediately. That is what makes them frustrating: the job looks perfect on day one and fails quietly a few months later, by which point water may have been getting behind the seal the whole time. Our guide to what failed silicone does to the structure behind it covers where that water actually ends up.
Doing it yourself vs bringing someone in
Where DIY tends to struggle
- Removing every trace of old silicone takes far longer than expected
- Blade slips scar acrylic baths and chip tile edges
- Colour matching to grout and trays is largely guesswork
- A consistent line over a long run is genuinely difficult first time
- Awkward corners and tight gaps are where most finishes go wrong
- If it fails, the silicone has to come out and go back in again
What a specialist brings
- Full cut-out and proper substrate preparation as standard
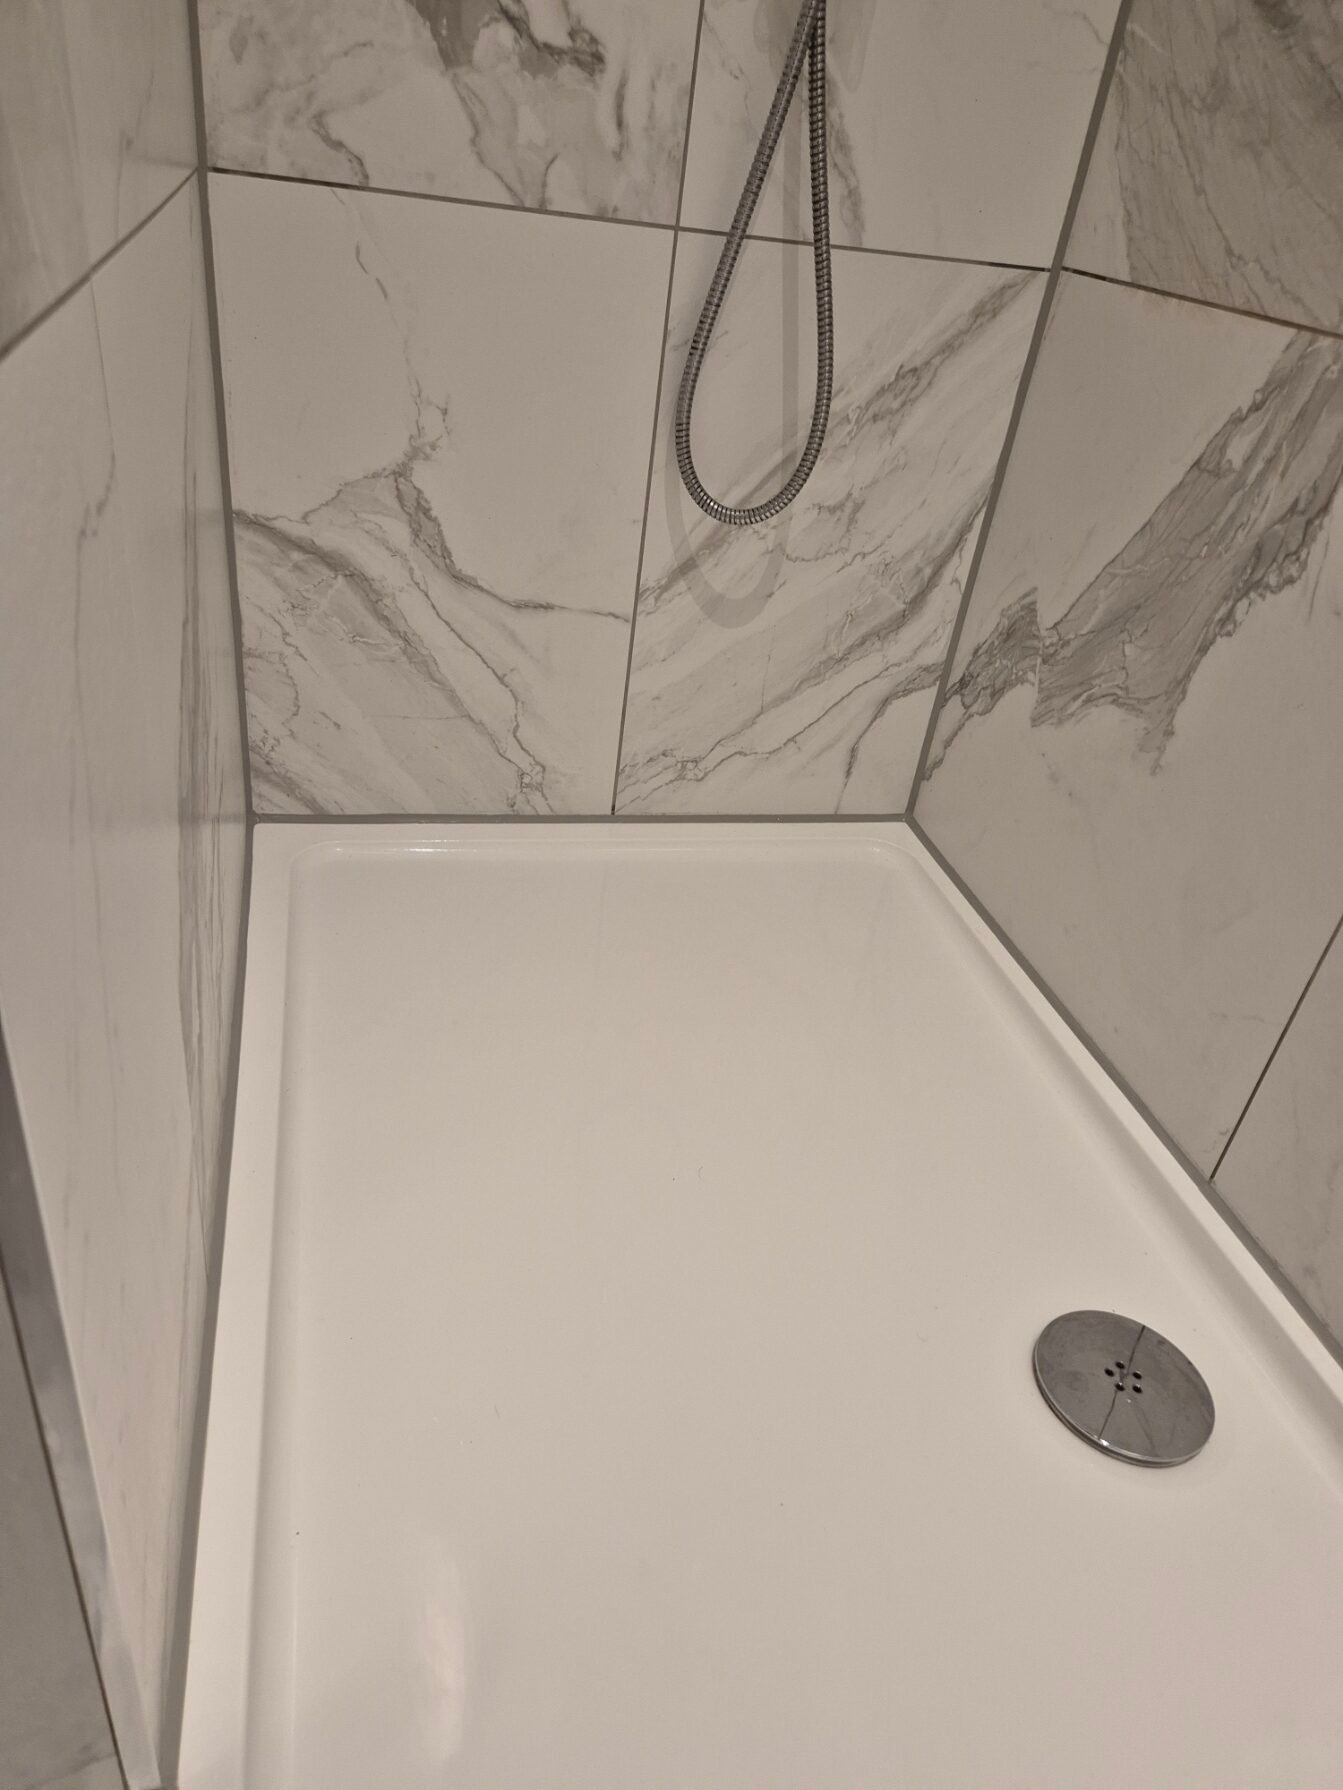
- Sanitary-grade silicone colour-matched to your tiles and grout
- Professional tooling for a clean, even line on every run
- Mould treated at the substrate, not sealed over
- Usually done in a single visit, ready to use the next day
- Grout steam cleaning at the same visit if the grout lines have gone too
If the mould is limited to one short run and you are comfortable with tools, DIY is a perfectly reasonable call. If the joints are long, the tiling is expensive, the bath is acrylic, or you have already resealed once and watched it blacken again, a professional cut-out and reseal is usually the cheaper answer over the life of the bathroom.
How to stop the mould coming back
A good reseal should give you several years. These are what decide whether you get them:
- Ventilate properly. Run the extractor during the shower and for fifteen minutes afterwards, or open a window. This matters more than any other single factor.
- Wipe the joints down. A quick pass with a towel or squeegee after showering removes the standing water mould needs.
- Ease off the bleach. Use a mild bathroom cleaner on and around sealant rather than harsh bleach sprays, which degrade the surface over time.
- Deal with splits early. A small crack repaired now is a short job. Left alone, it becomes water behind the tiles.
- Check it twice a year. Run a finger along the bead. Anything soft, lifting or discoloured is telling you something before it becomes a leak.
Where the grout has discoloured as well as the silicone, resealing on its own can look half-finished. A bathroom refresh pairs the reseal with grout steam cleaning in the same visit, which is usually what people actually want when they say the bathroom looks tired.
Frequently asked questions
Can I just bleach the mould instead of removing the silicone?
Only if it is genuinely surface mould that has just appeared. Bleach may lighten the colour, but if the mould has grown into the silicone it will return — usually within days. Bleach also degrades the surface of the sealant over time, so repeated use makes the underlying problem worse rather than better.
Can I apply new silicone over the old bead?
No. It is the most common shortcut and it always fails. Silicone does not bond to cured silicone, so the new layer is only held on at the edges. It peels within months, and any mould underneath keeps growing in the dark, damp gap you have just created.
How often should bathroom silicone be replaced?
There is no fixed interval — it depends on how much the bath or tray moves, how wide the gaps are, ventilation, and what it gets cleaned with. A domestic bathroom in good condition often goes several years. Heavily used bathrooms and poorly ventilated ones go much sooner. Inspect it rather than working to a calendar.
How long does silicone take to cure?
Most sanitary silicones need 24 hours before the bath or shower is used, though the surface skins over in minutes. Check the tube — some products need longer in cold or humid conditions. Using it early is one of the main reasons a fresh reseal fails.
Why does my sealant keep going mouldy even after resealing?
Almost always one of three things: old silicone was left in the joint, live mould was sealed over, or the bathroom has a ventilation problem that has never been addressed. The first two are preparation failures. The third means it will keep happening until the airflow is fixed, however well the sealing is done.
Do you cover my area?
We work across Leigh, Wigan, Bolton, Warrington, Greater Manchester and the wider North West, for homes as well as commercial and hospitality sites. If you are not sure whether you are in range, ask — it is usually a yes.
Free quotes, no obligation
Rather have it done properly first time?
Send us a photo of the joint and we will tell you honestly whether it needs cutting out or just cleaning up — and what it would cost either way.
Premier Clean & Seal are specialist silicone sealant and mastic contractors working across Leigh, Wigan and the North West, for domestic bathrooms as well as hotels, schools and new builds. Clients include the NHS, Manchester City FC and Lakeside Hotel & Spa. 30+ years of combined trade experience.
